Tag: Tried It

  • Workspace – Speakers

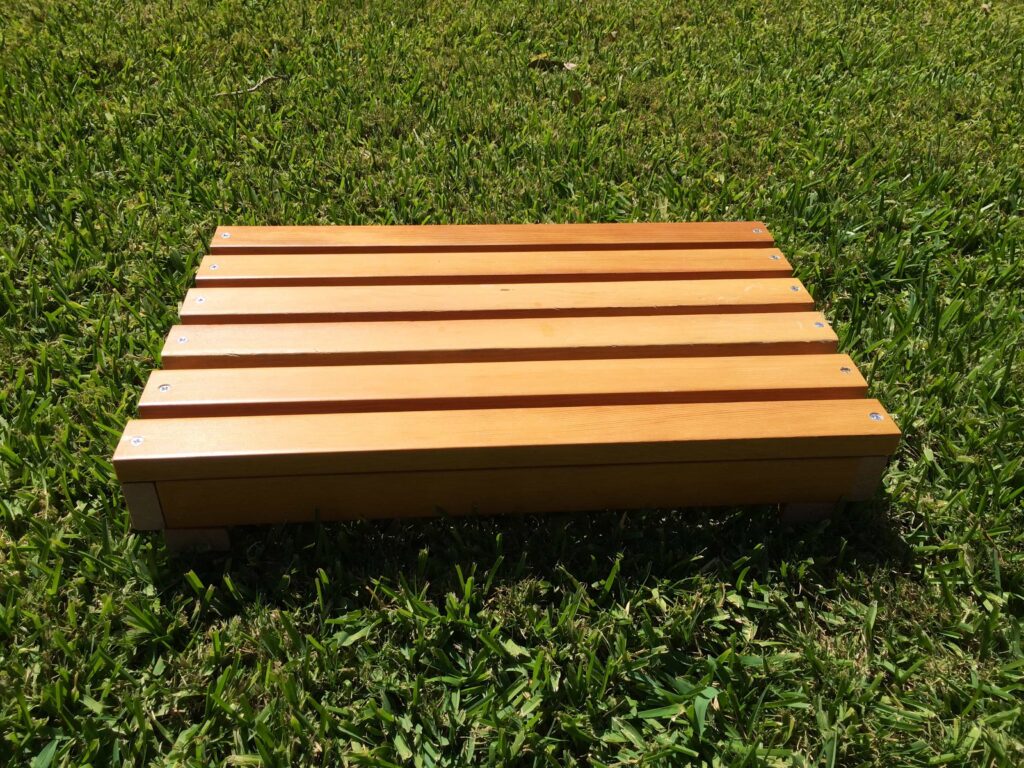
    My last post was about the desk I made (really more of finishing than making).  Underneath the desk are some speakers I’ve been refinishing too.  That’s taken me over two years, but they’re finally complete.

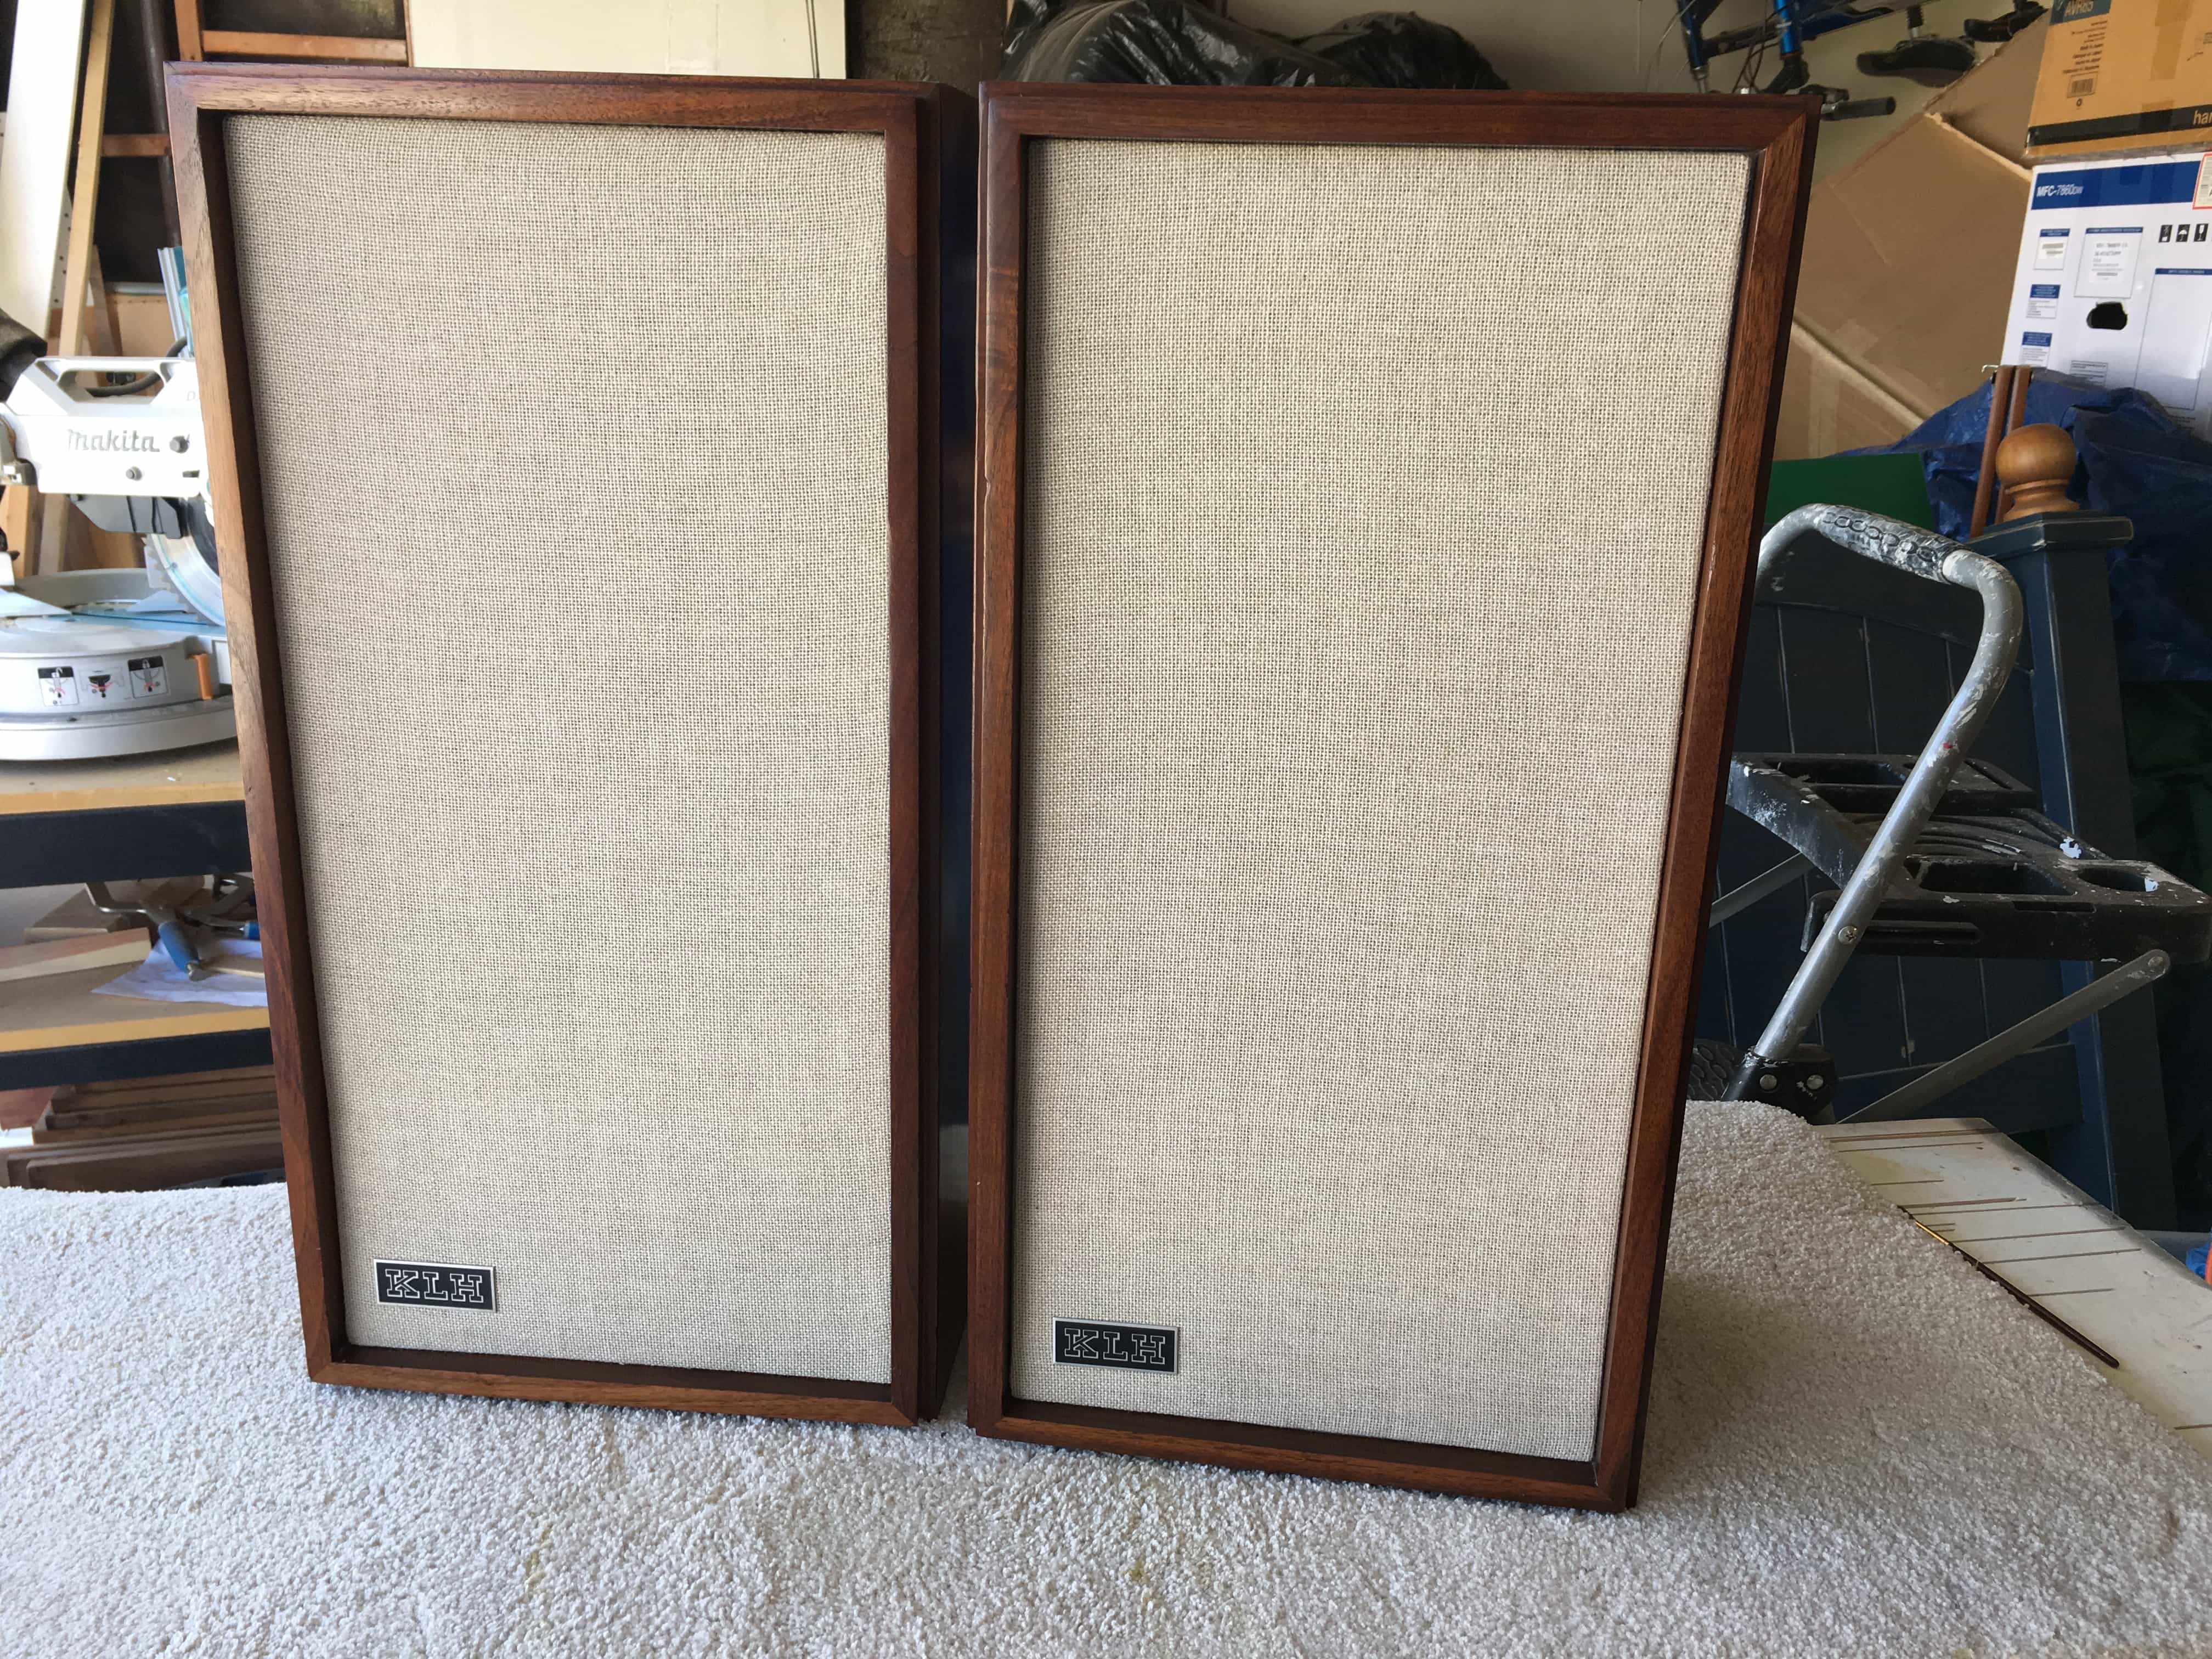
    My wife and I like to go to thrift stores to look for things we can fix up.  I found these KLH 17 speakers a few years ago and bought them for $20.  They were in pretty rough shape and one of the tweeters was blown.

    I ended up on forums, which seem to be the best source of information on the internet.  I bought a replacement tweeter on eBay as well as a sealant to repair the seal around the woofer.  I also read that the capacitors (or something) was likely to be broken so I ordered some parts and followed a step-by-step guide to replace the crossovers (thanks again, internet).

    They sat like this for over year until I started working on the desk.  I ended up refinishing the cabinets at the same time and it was much faster this way.

    I’ve also bought some speaker fabric on Etsy before, but I found the same material for much cheaper somewhere else that I forgot too.

    I’ve also been experimenting with some mini-amps on Amazon.  I used a Lepai on another project, I tried a Topping TP22, but I settled on an SMSL SA50 because it has more power and sounds great with these speakers.

    I’ll have to make some stands to get them off the ground next.  I have plans to use some of the scrap Ipe wood I used to build our fences but this will probably take me another year to get to.


  • Front Yard

    We picked our yard as our big project for the year. And by we, I mean my wife.  I wanted to work on other things inside the house, but I started digging up the side yard and that lead to this.  Ironically, the first patch that I dug up is the one patch that I haven’t done anything with yet.

    This is our new front yard after removing the old sod, digging out two huge tree roots, numerous over-grown plants, removing the old sprinkler system, installing a new one, adding low-voltage wiring and lighting, a french drain, pavers, new gutters around the house, a rain chain, new power outlets and a security camera. Along with all of the new stuff – Ipe wood fence, Mexican beach pebbles, mondo grass, two more Japanese maples, decorative ground cover and decomposed granite.

    It really was the biggest project we’ve done and I did a lot of it by myself.  And we’re still not done because the red pavers are placeholders for some large stones.  But we’ve received lot of compliments, it’s very low maintenance and we don’t use much water so it was all worth it.

    Front Yard

    When we first moved in, we hired someone to cut down three trees in the back.  Although, there were two huge maple trees in the front yard that were cut down but the roots weren’t removed.  We had some really lumpy grass that was hiding it all.

    We also hired a crew of 4 guys that worked on removing the tree stumps and roots.  They also tilled and leveled the yard, but they somehow missed this one.  This took me a long time to dig out, but I kept at it and did it piece by piece. Tree stump

    Once the roots were gone, I dug the fence post holes for our fence.  We live in an area that was once part of the ocean, so once you dig 6 inches down, you get to this rock hard sand.  Digging the post holes was such a a pain, but not nearly as hard as removing the stump.

    Front Gate

    This is the fence I made from Ipe wood that I ordered through AdvantageLumber.com.  I haven’t ordered that much wood before so I can’t compare it to anything.  I’d say that the 8′ boards were mostly great but there were a handful that I didn’t want to use.  Although, what I thought were some of the ugliest boards actually came out as the best ones when I applied the Mesmer’s oil.  And the 8′ boards were pretty straight but the 12′ boards I used for the side yard fence were pretty warped.  So overall, I was happy with the wood, but it could’ve been a little better too.


  • Zoysia Sod

    We also re-did our back yard and put in some De Anza Zoysia sod from WestCoastTurf.com.

    I grew up in the hills of Berkeley, so we never had a lawn.  I did a lot of research and picked the Zoysia because it’s supposed to grow slowly and not require much water.  It’s also very dense and can be cut short, which I like.  And it’s an Asian grass so that goes well with the rest of our yard.sod installed

    I raked and leveled our back yard a bunch of times before the sod was delivered.  I also installed a whole new sprinkler system before this, which I’ve also never done, so I was a little concerned if it was all going to work.sod prep

    The sod came earlier in the morning and my wife and I got started right away.  It doesn’t look like it, but it was hot that day and I didn’t want it to dry out.sod delivery

    It took the two of us almost all day and it was exhausting.  But it looked good that evening and even better two weeks later.  sod installed

    I also bought this reel mower made by Gardena.  It’s from Germany and there’s not much info on it, but it had good reviews.  Despite being an old school type mower, it’s really easy to use and cuts the grass really well.gardena mower

    So we have a nice back yard now and it’s a great place for our two boys to grow up and play.

  • French Drain

    When we worked on our yard, my wife wanted to make a French drain on the side of the house.  I didn’t know what that was, but I researched it and learned that it was a lot of work.  It doesn’t rain very often in southern California and we’ve been in a major drought on top of that.  But I still made and it works incredibly well.

    I dug out a trench that runs from our back yard to the street.  Then I lined it with some landscaping fabric like a taco.  I put down a thin layer of gravel and then some 4″ PVC pipe with holes.  I thought the holes would point up, but they are supposed to point down.  Then I covered it with the rocks and wrapped it up with the cloth and lightly covered it with dirt.img_2794

    The idea is that water travels in the path of least resistance.  So it’ll soak through the dirt but find it’s way to the rocks.  The cloth prevents dirt from getting into the rocks and the holes in the PVC, so the trench will fill with water.  The holes on the bottom let the water enter the pipe and it gets carried down until it exits at the street.

    img_2796

    I also added pipes that connect the rain chain to the drain.  Since our gutters run the length of our house, even a light rain makes a huge down pour at the chain.

    img_2790

    This was not the most fun project I worked on, but it was probably one of the more important ones dues to the hill in the back and our zero-lot-line house.

  • Mid-Century Inspiration

    I had some time off over the holidays and managed to finish a media console I’ve been working on. I’m not sure how I feel about this one. On one hand, it’s probably the nicest thing I’ve made but on the other hand, I see all the stupid mistakes I made along the way. I was able to hide a lot of them and it works well in our space so it ended up ok.

    I used a walnut plywood that I got from Austin Hardwood in Santa Ana. I really wanted to do bevel cuts for the edges, but I don’t have a table saw or a router so I ended up buying a Makita track saw. It works great and makes super clean cuts so long as everything’s clamped down properly (stupid mistake #1).

    Since it’s plywood, I covered the edges with veneer edge banding. It was my first time using it, but it’s really easy to do and it’s actually kind of fun.

    I wanted a dark walnut color and I tested out a bunch of stains and oils and ended up using Watco Danish Oil (Dark Walnut). I liked how it brought out the grain and it’s really easy to apply. Although, it wasn’t quite dark enough so I added a light coat of Old Master’s Black Walnut gel stain and finished it with 4 coats of General Finishes Arm-R-Seal satin.

    I sized it to go along with a free TV we got from the neighbors and to also fit a vintage receiver. This also became an interest of mine, so I picked up a vintage Yamaha CR-420 receiver. I honestly chose it mostly because of the aesthetics, but it sounds really clean for a lower powered, compact unit. I paired it with Micca MB42x speakers and I’m really impressed with these too. I feel like buying some more to replace a 5.1 setup in the living room, but we hardly watch anything that’s not on Disney Jr and if we do, it’s usually with it on mute with the subtitles on!

    Media Console Media Console Media Console Yamaha CR-420

  • Contact Paper Upgrade

    Our place came with a new stainless stove and we bought a new stainless fridge. But the dishwasher was old and black with lots of marks on it. We don’t use it and we’re not ready for a full kitchen remodel, so I tried something I saw online.

    It’s contact paper made to look like brushed stainless steel. It was really easy to apply and it looks great. In person, I think it actually looks better than our stove. It was a cheap mod that went a long way and everything matches now.  I’m really amazed by how good this worked, thanks internet!

    img_1966

    img_1964

  • Vintage Speaker Dock

    In between painting, installing baseboards and replacing all of our 30 year old electrical outlets and switches, I worked on something more fun. My wife seems to listen to music on her iPhone so I thought I’d make something better for her.

    We also like mid-century design so I found some old speakers at Goodwill and made them into an iPhone speaker dock.

    Speaker Dock

    Speaker Dock

    I used a $20 Lepai amp and got some vintage Realistic Minimus speakers.

    I later picked up some Bose tulip speaker stands, but they are a little too big. I might have to take the stands back if I ever get around to refinishing my KLH 17s.

    It came out pretty well and sounds great, but I took some more terrible pictures and didn’t fix the cords…

    Speaker Dock

  • Garage Space

    When we first moved into our house, I had a huge list of projects to work on but nowhere to do it.  So I claimed this corner of the garage and made it my own.

    This is when I gave in an bought a Makita 10″ mitre saw and started my cordless Makita collection.  I always have a hard time buying tools because I’m worried I won’t use them, but I’ve ended up making really good use of all of these tools and they’re a joy to use.

    My first project was to make this workbench so I had a place to work on the next project.  I tried using the plans found in the Family Handyman Magazine, which is great by the way.  It was the only magazine I subscribed to, but I let it expire because of how many renewal notifications they send.  But anyhow, I had to cut it down half a foot because it was designed for giants, or at least people a lot taller than me.

    Garage Space


    This is what the wall looked like before I painted.  It was actually a lot worse before this because there were holes all over the place that I patched up.

    Garage Wall

    Being a dedicated USC alumnus, I had to use the official color for the wall.  Any Trojan knows this is cardinal (not just red) and gold.  Glidden made some officially licensed paints for a lot of schools and professional teams.  However, I know USC retains its own licensing and isn’t part of a lot of these deals, so I had to give in and go with the same but otherwise official colors of Stanford and LSU…

    Garage Wall USC

    I’m also not a very good painter so I used a Fathead for the Trojan logo.  But, I did learn a good technique for painting clean lines with tape from watching the Property Brothers on HGTV.  The tip was to paint the background color again around the tape line first.  This way, there will be some bleeding that you usually get, but it’s the same color as the background.  When it dries, you paint inside the lines like normal and you get a really sharp line.

  • Mini Picnic Bench

    When we first bought our house, I wanted to make a small picnic bench for my son.  I bought a Makita 10″ dual slide compound mitre saw that’s been amazing.  Unfortunately, in my haste, I bought birch wood from Home Depot and it was a nightmare to finish (more on this later).

    I followed plans from Ana White and tried out a Kreg Jig for pocket holes for the first time.  The plans were easy to follow and the jig was really easy to use.  I put it together without any issues and it looked pretty good unfinished.

    Picnic Bench Unfinished

    As for the finishing, I tried brushing amber shellac at first, but it was a disaster. I applied too much and it dripped and dried with marks all over it, and it also came out really yellow on birch. It took me months to sand it down and research staining online.  I couldn’t tell you why I didn’t buy a sander at this point, but I’m guessing it was a form of self punishment!

    For my next attempt, I started with a red mahogany Transtint dye. Birch gets really blotchy and this seemed to help hide that and it also gave it a reddish tint. I then applied Old Masters cedar gel stain. The combination of the two seemed to provide more depth than the gel stain alone. I then added a topcoat of clear shellac in light coats with a rag and it turned out much better.

    Picnic Bench

    It would’ve came out better if I used this schedule from the start, but it was an all around learning project. Mostly I learned, never to buy birch for staining.  But my kids approve and have gotten good use of it, so that’s all that matters.

  • Dog/Baby Gate

    When we learned we we’re expecting, I already started worrying about safety.  Our condo had stairs that lead to the living room, so I made this gate.  I told everyone it was for our dog, but it was really for our son.

    gate-finished-5

    It’s made from Douglas Fir.  It’s known as a cheap wood that’s hard to work with, but I think it looks really nice.  I like that straight grain and I picked knot free boards.

    wood sanded

    I sanded them smooth to avoid splinters and rounded every corner being an over-protective, soon-to-be parent.wood stained

    I forgot what stain this is, but I want to say it was called Golden Pecan.  My memory is terrible though, so that could be completely wrong.

    We moved on from the condo and bought our house when our son was 3.  He was working on the next milestone, so I cut up the old gate and made two of these potty step stools for him.  I also saw this on Ana-White.com.

    img_1364